
Table of Contents
Understanding the Importance of Polarizing a 12 Volt Voltage Regulator
A voltage regulator is an essential component in any electrical system, ensuring a steady and regulated voltage output. However, if your 12-volt voltage regulator has lost its polarization, it may not function properly. Polarization is necessary to establish a reference point for the regulator's internal components. In this article, we will explore the process of polarizing a 12-volt voltage regulator, step by step, to help you restore its functionality.
1. What is Polarization?
Before we dive into the process, let's briefly discuss what polarization means in the context of a voltage regulator. Polarization is the act of establishing a stable reference voltage within the regulator. This reference voltage is essential for the regulator to operate correctly, maintaining a steady output voltage.
2. Why Does a 12 Volt Voltage Regulator Need Polarization?
A 12-volt voltage regulator needs polarization because it relies on a magnetic field to function. The polarization process aligns the regulator's internal magnetic field, ensuring proper operation. Without polarization, the regulator might not be able to regulate voltage effectively, leading to unstable or unreliable electrical systems.
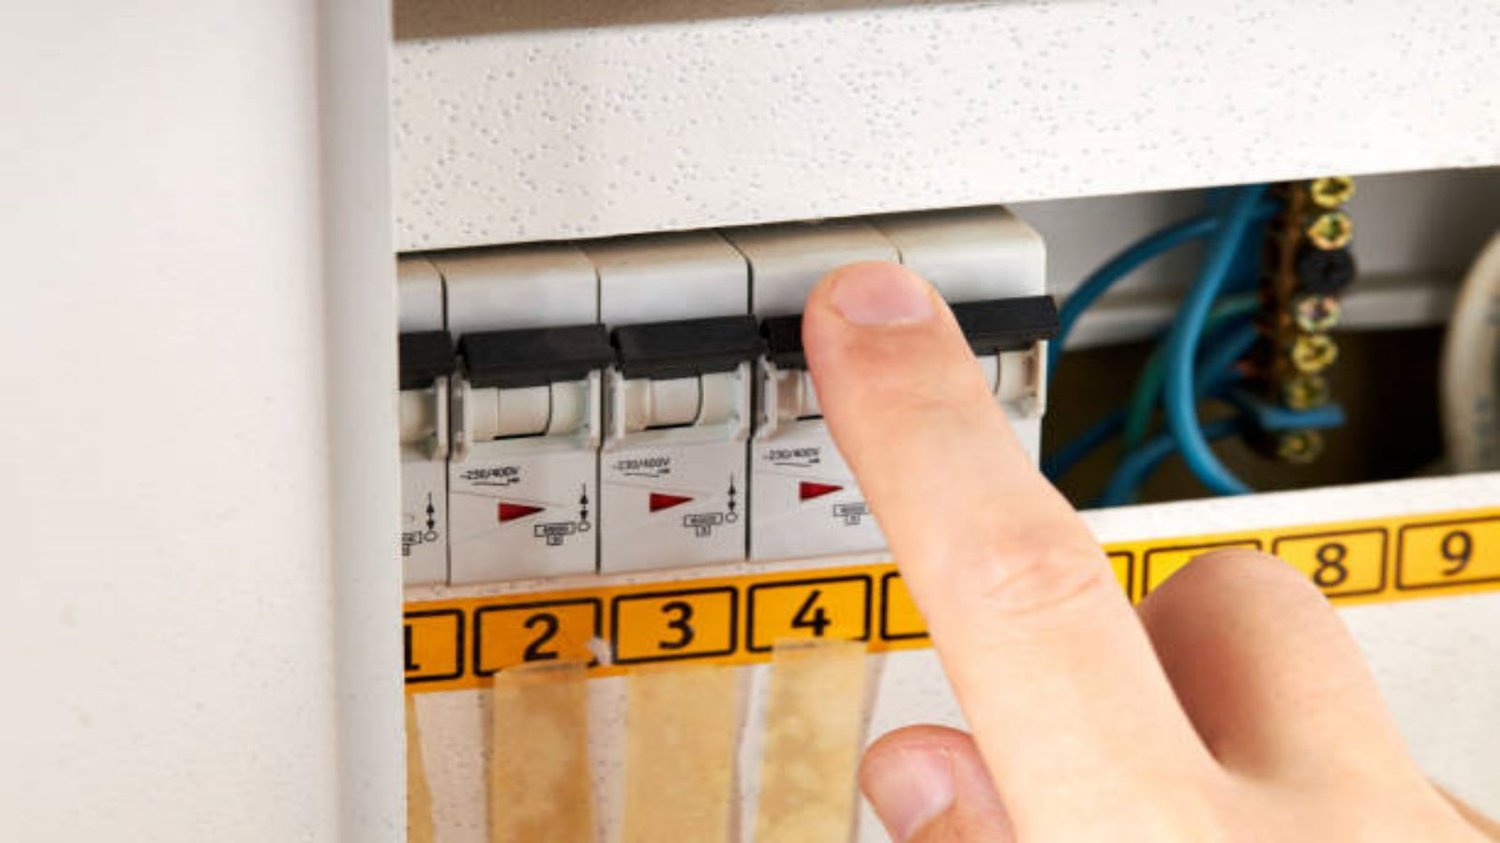
3. Tools Required for Polarizing a 12 Volt Voltage Regulator
Before you begin the polarization process, it's important to gather the necessary tools. You will need a digital multimeter, a 12-volt power source (such as a battery or power supply), and a set of electrical cables with alligator clips.
4. Safety Precautions
Prioritize safety when working with electrical systems. Make sure to disconnect the power source and remove any connections to the regulator before starting the polarizing process. Always wear appropriate personal protective equipment (PPE) such as gloves and safety goggles.
5. Step-by-Step Guide to Polarize a 12 Volt Voltage Regulator
Now that you have the necessary tools and safety precautions in place, let's proceed with the step-by-step process of polarizing a 12-volt voltage regulator:
- Disconnect the voltage regulator from the electrical system.
- Identify the field and armature terminals on the voltage regulator. These are typically labeled "F" and "A" respectively.
- Connect the positive terminal of the 12-volt power source to the field terminal (F) of the regulator.
- Connect the negative terminal of the power source to the armature terminal (A) of the regulator.
- Set your digital multimeter to the DC voltage measurement mode.
- Connect the multimeter's positive probe to the armature terminal (A) of the regulator.
- Connect the multimeter's negative probe to a clean and grounded metal surface.
- Apply power to the regulator by reconnecting the power source to the electrical system.
- Observe the multimeter reading. It should indicate a positive voltage, typically around 0.5 to 1 volt.
- If the reading is within the expected range, the regulator is properly polarized. If not, consult a professional or refer to the regulator's manufacturer guidelines for further troubleshooting.
6. Testing the Polarization
Once you have completed the polarization process, it is crucial to test the regulator's polarization to ensure it is functioning correctly. Reconnect the voltage regulator to the electrical system and measure the output voltage using a multimeter. The reading should indicate a steady and regulated 12-volt output. If the output voltage is unstable or significantly different, it may indicate an issue with the polarization process.
7. Troubleshooting Common Polarization Issues
If you encounter any difficulties during the polarization process or notice irregularities in the regulator's output voltage, it is essential to troubleshoot the issue. Common polarization issues include incorrect connections, faulty power source, or damaged regulator components. Double-check all connections and consult the manufacturer's guidelines or a professional if necessary.
8. Importance of Regular Maintenance
Polarization is not a one-time task. It is essential to include regular maintenance of your 12-volt voltage regulator in your electrical system's upkeep. Regularly inspect the regulator for any signs of damage or wear, and ensure proper connections are maintained. This proactive approach can help prevent polarization issues and ensure the longevity and reliability of your electrical system.
9. Seeking Professional Assistance
If you are unsure about polarizing a 12-volt voltage regulator or encounter persistent issues, it is advisable to seek professional assistance. Certified electricians or automotive technicians possess the expertise and experience to handle voltage regulator polarization and related troubleshooting effectively.
10. Conclusion
Polarizing a 12-volt voltage regulator is a crucial step in maintaining a stable and reliable electrical system. By following the step-by-step guide outlined in this article, you can successfully polarize your regulator and restore its functionality. Remember to prioritize safety, seek professional assistance when needed, and conduct regular maintenance to ensure optimal performance of your electrical system.